Suffering on Discord at 17:00 - Decompiling Project Sekai: Colorful Stage! feat. Hatsune Miku
Table of Contents
One random day, I got myself hooked up in Project Sekai again. Well… not for a long enough time - friends actually got me hooked into World Dai Star, and that game is much better in terms of charting. Anyways, I find my reading skill to have gone up after grinding out 16.25 in CHUNITHM, but executing patterns and actually getting APs still turns out to be a challenge for me.
Though, being a person who’s insanely autistic in terms of looking at stats, I did end up asking around on whether there’s any solutions for score tracking for Project Sekai. Less so out of actual interest in tracking my own progression, more so out of curiosity on how it’s done. My friend beerpsi mentioned a Discord bot for it, using the save from the data transfer feature. Checking that bot’s source code out, I let out a loud “awwwww…” as I saw the note:
This repository hides the requirements.txt, as well as all PJSK API-based code. This will not be made publicly available, due to the sensitive nature of the game’s API.
Time to take matters into my own hands! Knowing that the game runs on Unity 20221, with a little bit of Unity reverse engineering knowledge, I feel like this wouldn’t be too difficult… Or so I thought.
This is clearly not meant to be an encompassing tutorial! I don’t think I’m entirely correct throughout my journey, but I will try to document everything I tried and thought of!
Unity? What’s that?
Unity is a cross-platform game engine, often used for mobile games, with C# as its primary programming language. Given the nature of C#, usually the game code is compiled into what is called Intermediate Language (IL) to be loaded into the Unity runtime. One neat thing about IL is, it can be decompiled back into C# code, with the help of tools like ILSpy or dnSpy. This file is often named Assembly-CSharp.dll, and stored under the Managed directory somewhere.
So what’s the catch? Well, to really see how things are, let’s take a look at the game’s APK. I snatched the game off APKPure, and it comes as an XAPK - which is just a fancy name for a ZIP file containing the main APK, architecture-specific code and other assets.
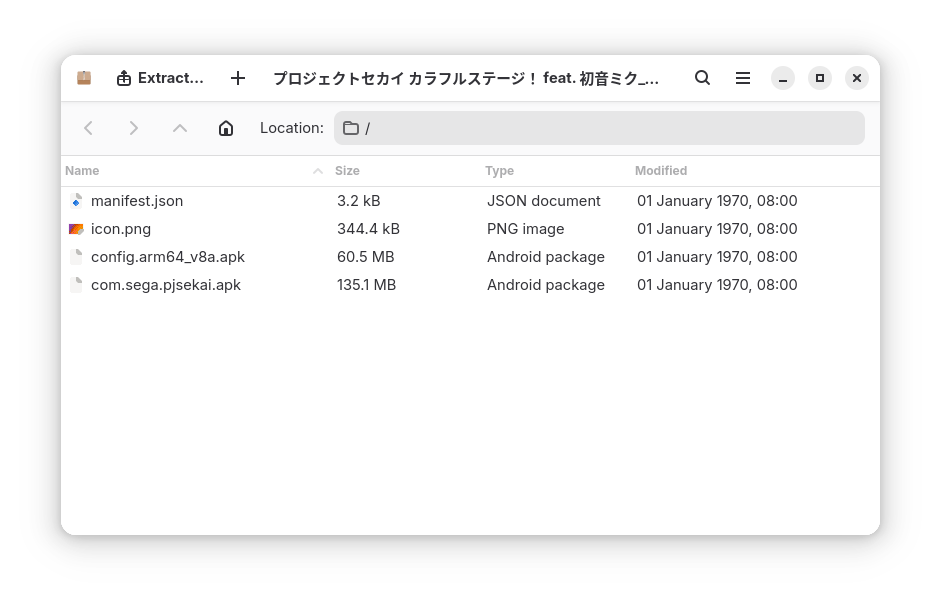
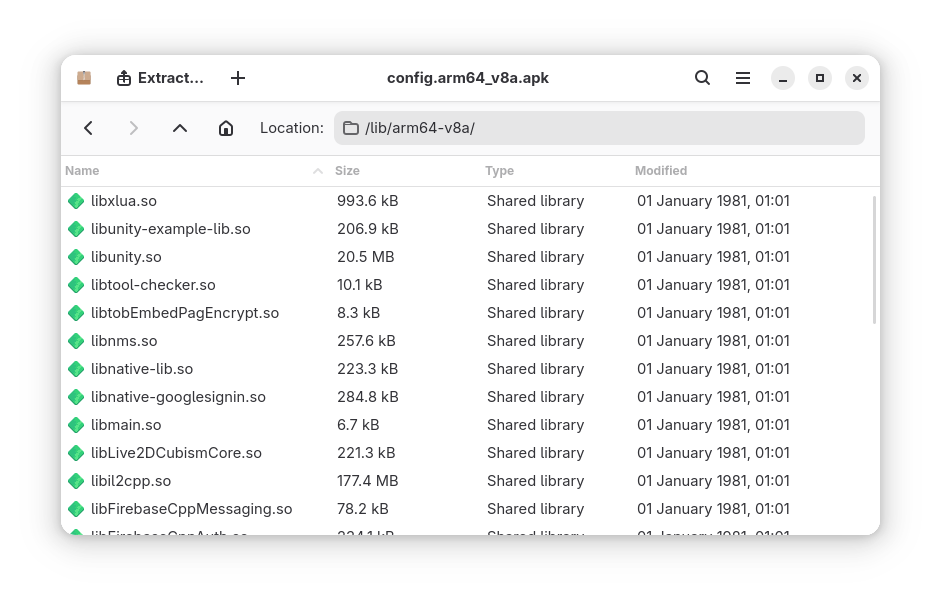
Nothing interesting within com.sega.pjsekai.apk, outside of the various system libraries that the game uses, so I’ll take a look at the other APK file, config.arm64_v8a.apk.
Digging around for a little bit, I found myself stumbling upon… nothing? Where’s my Assembly-CSharp.dll? All I see is a ton of .so files… What’s going on?
IL2CPPain…
As it turns out, Unity has given developers the choice to make the game code exported as a native library, using what is called IL2CPP. This allows the game to run in environments that disallow just-in-time2 runtimes, e.g. iOS.
IL2CPP, in short, compiles all the IL code into C++ code, then said C++ code is used to compile into a native binary ahead-of-time3, in this case, libil2cpp.so. The most important thing for us here is that this strips away all the goodness that comes with IL, like symbol names and readable function bodies, as this is all going to be heavily optimized and stripped by the C++ compiler.
For the developers, this is heaven (or so we’ll assume, to be determined later). For us, this is hell. If you jumped straight in and, say, put this output binary straight into a disassembler like Ghidra or IDA Pro, you’re in for a very rough time.
Less pain, more gain?
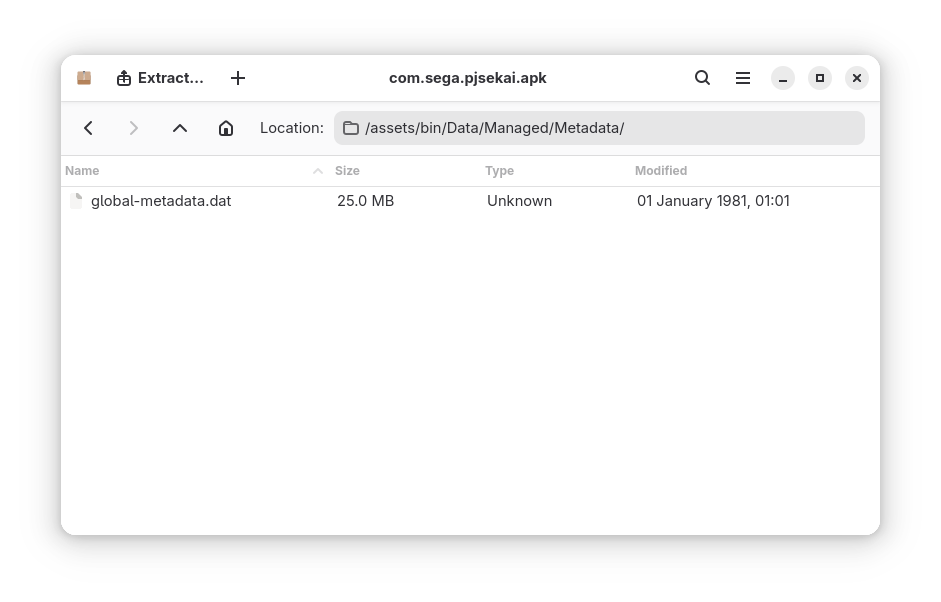
Thankfully though, Unity still keeps something lying around for us to use. Meet global-metadata.dat. “What is this?”, I hear you ask. This file contains all the .NET metadata for the game, including definitions and symbols for all the types, methods, etc. This is an incredibly useful source of information for us.
As mentioned earlier, this is what makes IL2CPP not quite the heaven for developers who really, really don’t want their game to be reverse-engineered. All the metadata is still available in one single file, which can be used to reverse-engineer the game’s code. It takes a lot of effort to hide this file away or somehow make it inaccessible.
If you want to know more about this, feel free to take a look at djkaty’s blog post on IL2CPP metadata. Their blog posts have been an incredibly helpful read on how to approach the project!
Right, now that I’ve found it… how do we really use this for anything? I wanted to use Il2CppInspector, but the game seems to be too new for it, as the last update for this was in 2021, and the game just moved to Unity 2022 very recently. A bit of extra digging brings me to Il2CppDumper, which is another tool with similar features. Surely, by passing this and libil2cpp.so to Il2CppDumper, we can dump the assembly, right? Right…?
The battle finally starts…
Passing in both the binary and the metadata file gave me…
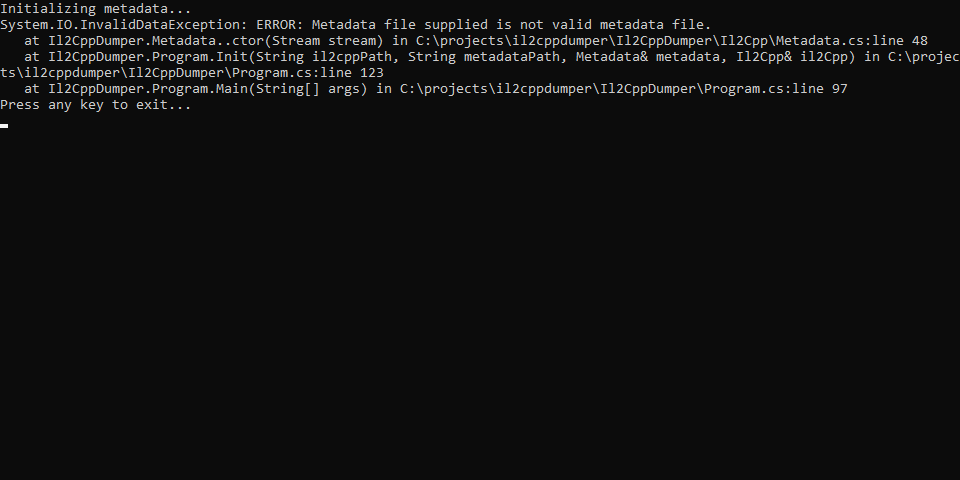
That’s weird. Why are we getting an error? Invalid metadata? Thanks to another blog post by djkaty, we know that the metadata file should start with the magic bytes AF 1B B1 FA, followed by the version number of the metadata file. Let’s check out the one we extracted from the game, by opening it in a hex editor.
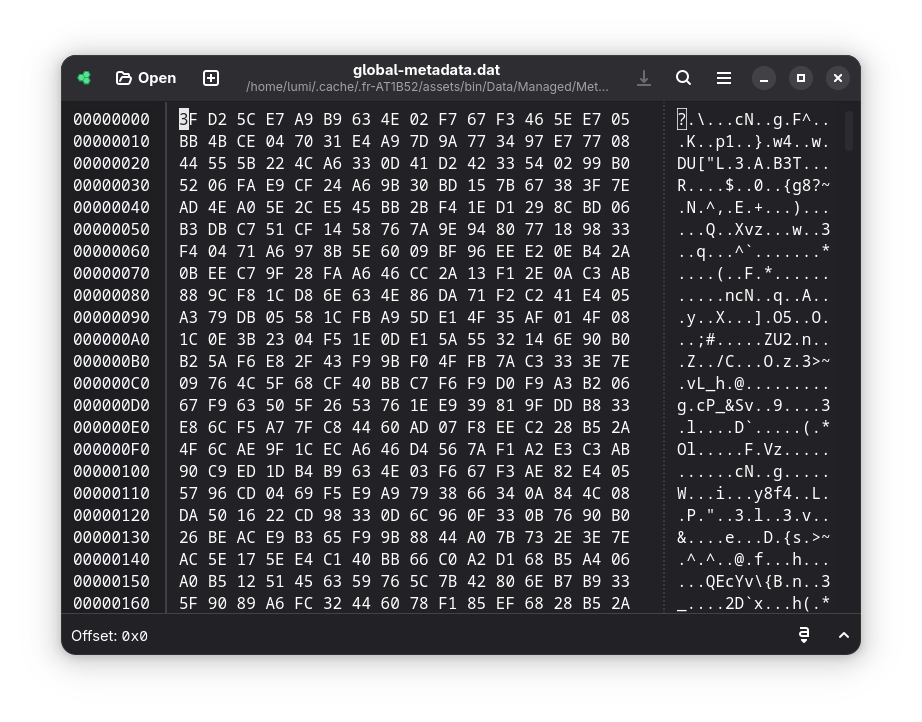
Right. This isn’t it. It’s encrypted. It’s easy enough to figure out that the game will need to decrypt this at runtime to properly initialize the game, so my first thought is to get myself a memory dump of the game’s process. Surely there are better ways out there, including seeing how the actual encryption is performed, but let’s leave it to another day.
Introducing Frida
Let’s get ourselves familiar with the tools we’ll use: Frida and objection.
Frida is a dynamic instrumentation toolkit that allows you to hook onto running processes, so you could dynamically modify the behavior of the process. We won’t need to do anything too special here, other than getting it hooked up just enough to read memory from the game’s process.
objection is a toolkit, powered by Frida, that allows you to explore the state of a mobile app’s process.
I used Android Studio’s AVD to run the game in an emulator. Do note that you will need to use a system image that doesn’t have Google Play installed - these will allow adbd to run as root, so you could run frida-server. I also used rootAVD to get myself a pre-rooted Android image with Magisk on it.
With the emulator running and rooted as above, we can start up frida-server on the emulator:
$ adb root
$ adb push frida-server /data/local/tmp/
$ adb shell "chmod 755 /data/local/tmp/frida-server"
$ adb shell "/data/local/tmp/frida-server &"
Make sure that frida-server is downloaded and extracted, as well as matching the version of Frida installed in your environment.
After starting up, let’s try listing all the processes on the emulator…
$ frida-ps -Uai
PID  Name             Identifier
----  ---------------  ---------------------------------------
2500  Camera           com.android.camera2
1798  Chrome           com.android.chrome
2625  Clock            com.google.android.deskclock
1759  Google           com.google.android.googlequicksearchbox
1759  Google           com.google.android.googlequicksearchbox
1639  Messages         com.google.android.apps.messaging
2709  Personal Safety  com.google.android.apps.safetyhub
3685  Photos           com.google.android.apps.photos
1197  SIM Toolkit      com.android.stk
1200  Settings         com.android.settings
  -  Calendar         com.google.android.calendar
  -  Contacts         com.google.android.contacts
  -  Drive            com.google.android.apps.docs
  -  Files            com.google.android.documentsui
  -  Gmail            com.google.android.gm
  -  Magisk           com.topjohnwu.magisk
  -  Maps             com.google.android.apps.maps
  -  Phone            com.google.android.dialer
  -  YouTube          com.google.android.youtube
  -  YouTube Music    com.google.android.apps.youtube.music
  -  プロセカ             com.sega.pjsekai
Sweet! Our setup is all working. I also installed the game on the device as well, shown by the “プロセカ” app with the identifier com.sega.pjsekai. Let’s launch the game and read its memory with objection.
$ objection -g com.sega.pjsekai explore
Using USB device `Android Emulator 5554`
Agent injected and responds ok!

     _   _         _   _
 ___| |_|_|___ ___| |_|_|___ ___
| . | . | | -_|  _|  _| | . |   |
|___|___| |___|___|_| |_|___|_|_|
      |___|(object)inject(ion) v1.11.0

     Runtime Mobile Exploration
        by: @leonjza from @sensepost

[tab] for command suggestions
com.sega.pjsekai on (google: 15) [usb] #
And… the game restarted. Thankfully, we don’t have to worry too much about it
- objection managed to keep itself loaded within the process, so we can continue our investigation. We’re now greeted by objection’s prompt, and we can start to do plenty of things here!
Let’s remind ourselves of what we know so far of global-metadata.dat:
- It has all the metadata for the game code, including definitions and symbols for everything within the C# code.
- It should start with
AF 1B B1 FA. - It should be loaded entirely into memory upon the game’s initialization.
Using objection, we can search for the above pattern within the memory using the command memory search "af 1b b1 fa".
com.sega.pjsekai on (google: 15) [usb] # memory search "af 1b b1 fa"
Searching for: af 1b b1 fa
741b09a00000  af 1b b1 fa 1d 00 00 00 00 01 00 00 e8 dc 03 00  ................
741b09a00010  e8 dd 03 00 18 c4 0d 00 00 a2 11 00 98 63 3b 00  .............c;.
741b09a00020  98 05 4d 00 88 3e 00 00 20 44 4d 00 50 74 09 00  ..M..>.. DM.Pt..
Pattern matched at 1 addresses
Well, that was easy. It doesn’t look like Colorful Palette did any magical tricks to block memory reading. Let’s try and dump this out and hope that they also didn’t do any magic that breaks up the file within the game’s memory… The command we will need is memory dump from_base <address> <size to dump> <output>. If you noticed earlier, the size of global-metadata.dat is 25,041,580 bytes, so let’s put that as the size to dump.
com.sega.pjsekai on (google: 15) [usb] # memory dump from_base 741b09a00000 25041580 memory_dump.txt
Dumping 23.9 MiB from 741b09a00000 to memory_dump.txt
Memory dumped to file: memory_dump.txt
During the recreation process for the above output, I mistakenly typed 26041580 as the size to dump and objection ended up dying… Looks like the file is allocated right at the edge of the game’s memory, so any attempts at reading beyond that will give you an access violation.
Looks like we got something out of it. Let’s see if this is exactly the global-metadata.dat we’ve been trying to extract.
Putting it into Il2CppDumper didn’t seem to give any problems, and we got a bunch of files and the recreated assemblies. Let’s move on ahead.
Unveiling the secrets
Now that we have our recreated assemblies and various files, let’s bring in our actual big guns and see what we can do.
Introducing, Ghidra. This is a suite of software reverse engineering tools, including a disassembler and a decompiler, like I’ve briefly mentioned earlier. This will be our main tool to discover the secrets hidden within.
From the output of Il2CppDumper, what do we get?
- The set of restored
.dllfiles, which we can inspect using any .NET decompiler tool. il2cpp.h, a header file containing all the structures information.script.json, a JSON file containing the metadata that we can load into our disassembler of choice.ghidra_with_struct.py, a script to be loaded into Ghidra to load the abovescript.jsonfile.
There’s also il2cpp_header_to_ghidra.py, we will need this to convert the above il2cpp.h into a Ghidra-compatible format, as there are minor differences between the format that IDA Pro takes and Ghidra’s.
Let’s start with converting the header file into Ghidra’s format.
$ python ./il2cpp_header_to_ghidra.py
Script started...
il2cpp.h opened...
il2cpp.h read...
il2cpp.h data fixed...
il2cpp.h closed.
il2cpp_ghidra.h opened...
header written...
fixed data written...
il2cpp_ghidra.h closed.
Cool, that was painless. Time to open Ghidra. Create yourself a new project in Ghidra, and let’s load in libil2cpp.so to the project. While opening up the binary in CodeBrowser, make sure to not analyze the binary immediately. This will slow Ghidra down massively since this is a very large binary, and we want to load in the metadata first before we do any decompilation.
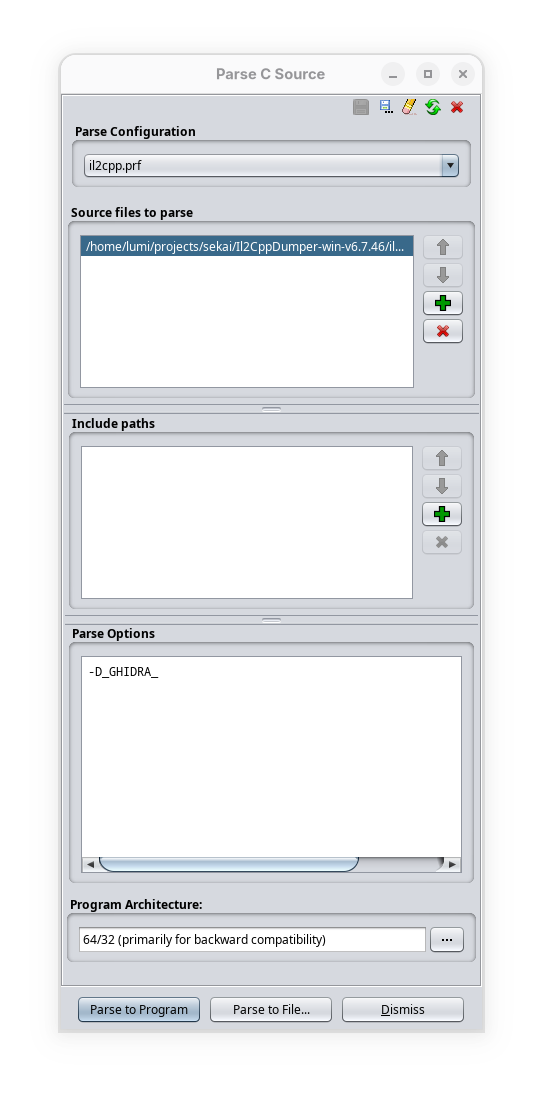
Let’s continue with parsing the C header that we obtained above (il2cpp_ghidra.h) into our Ghidra project. Go to File > Parse C Source within CodeBrowser’s interface. You will see something like below:

Get rid of all the files in the “Source files to parse” section, as well as “Include paths” and clear out the options within “Parse Options”. Then, you want to add il2cpp_ghidra.h into “Source files to parse”, as well as putting in -D_GHIDRA_ into “Parse Options”. Feel free to save it into another profile - I have mine saved as il2cpp.prf. This is what it should look like:
Now hit “Parse to Program” and give it a bit… This “bit” will depend on how good your CPU is… My measly i5-1240P took a good while.
Next, let’s add the ghidra_with_struct.py script into the Script Manager (Window > Script Manager). Run it and pass in the script.json from earlier. If nothing has gone wrong from parsing the C header file, the script should’ve loaded in all the metadata into the decompilation!
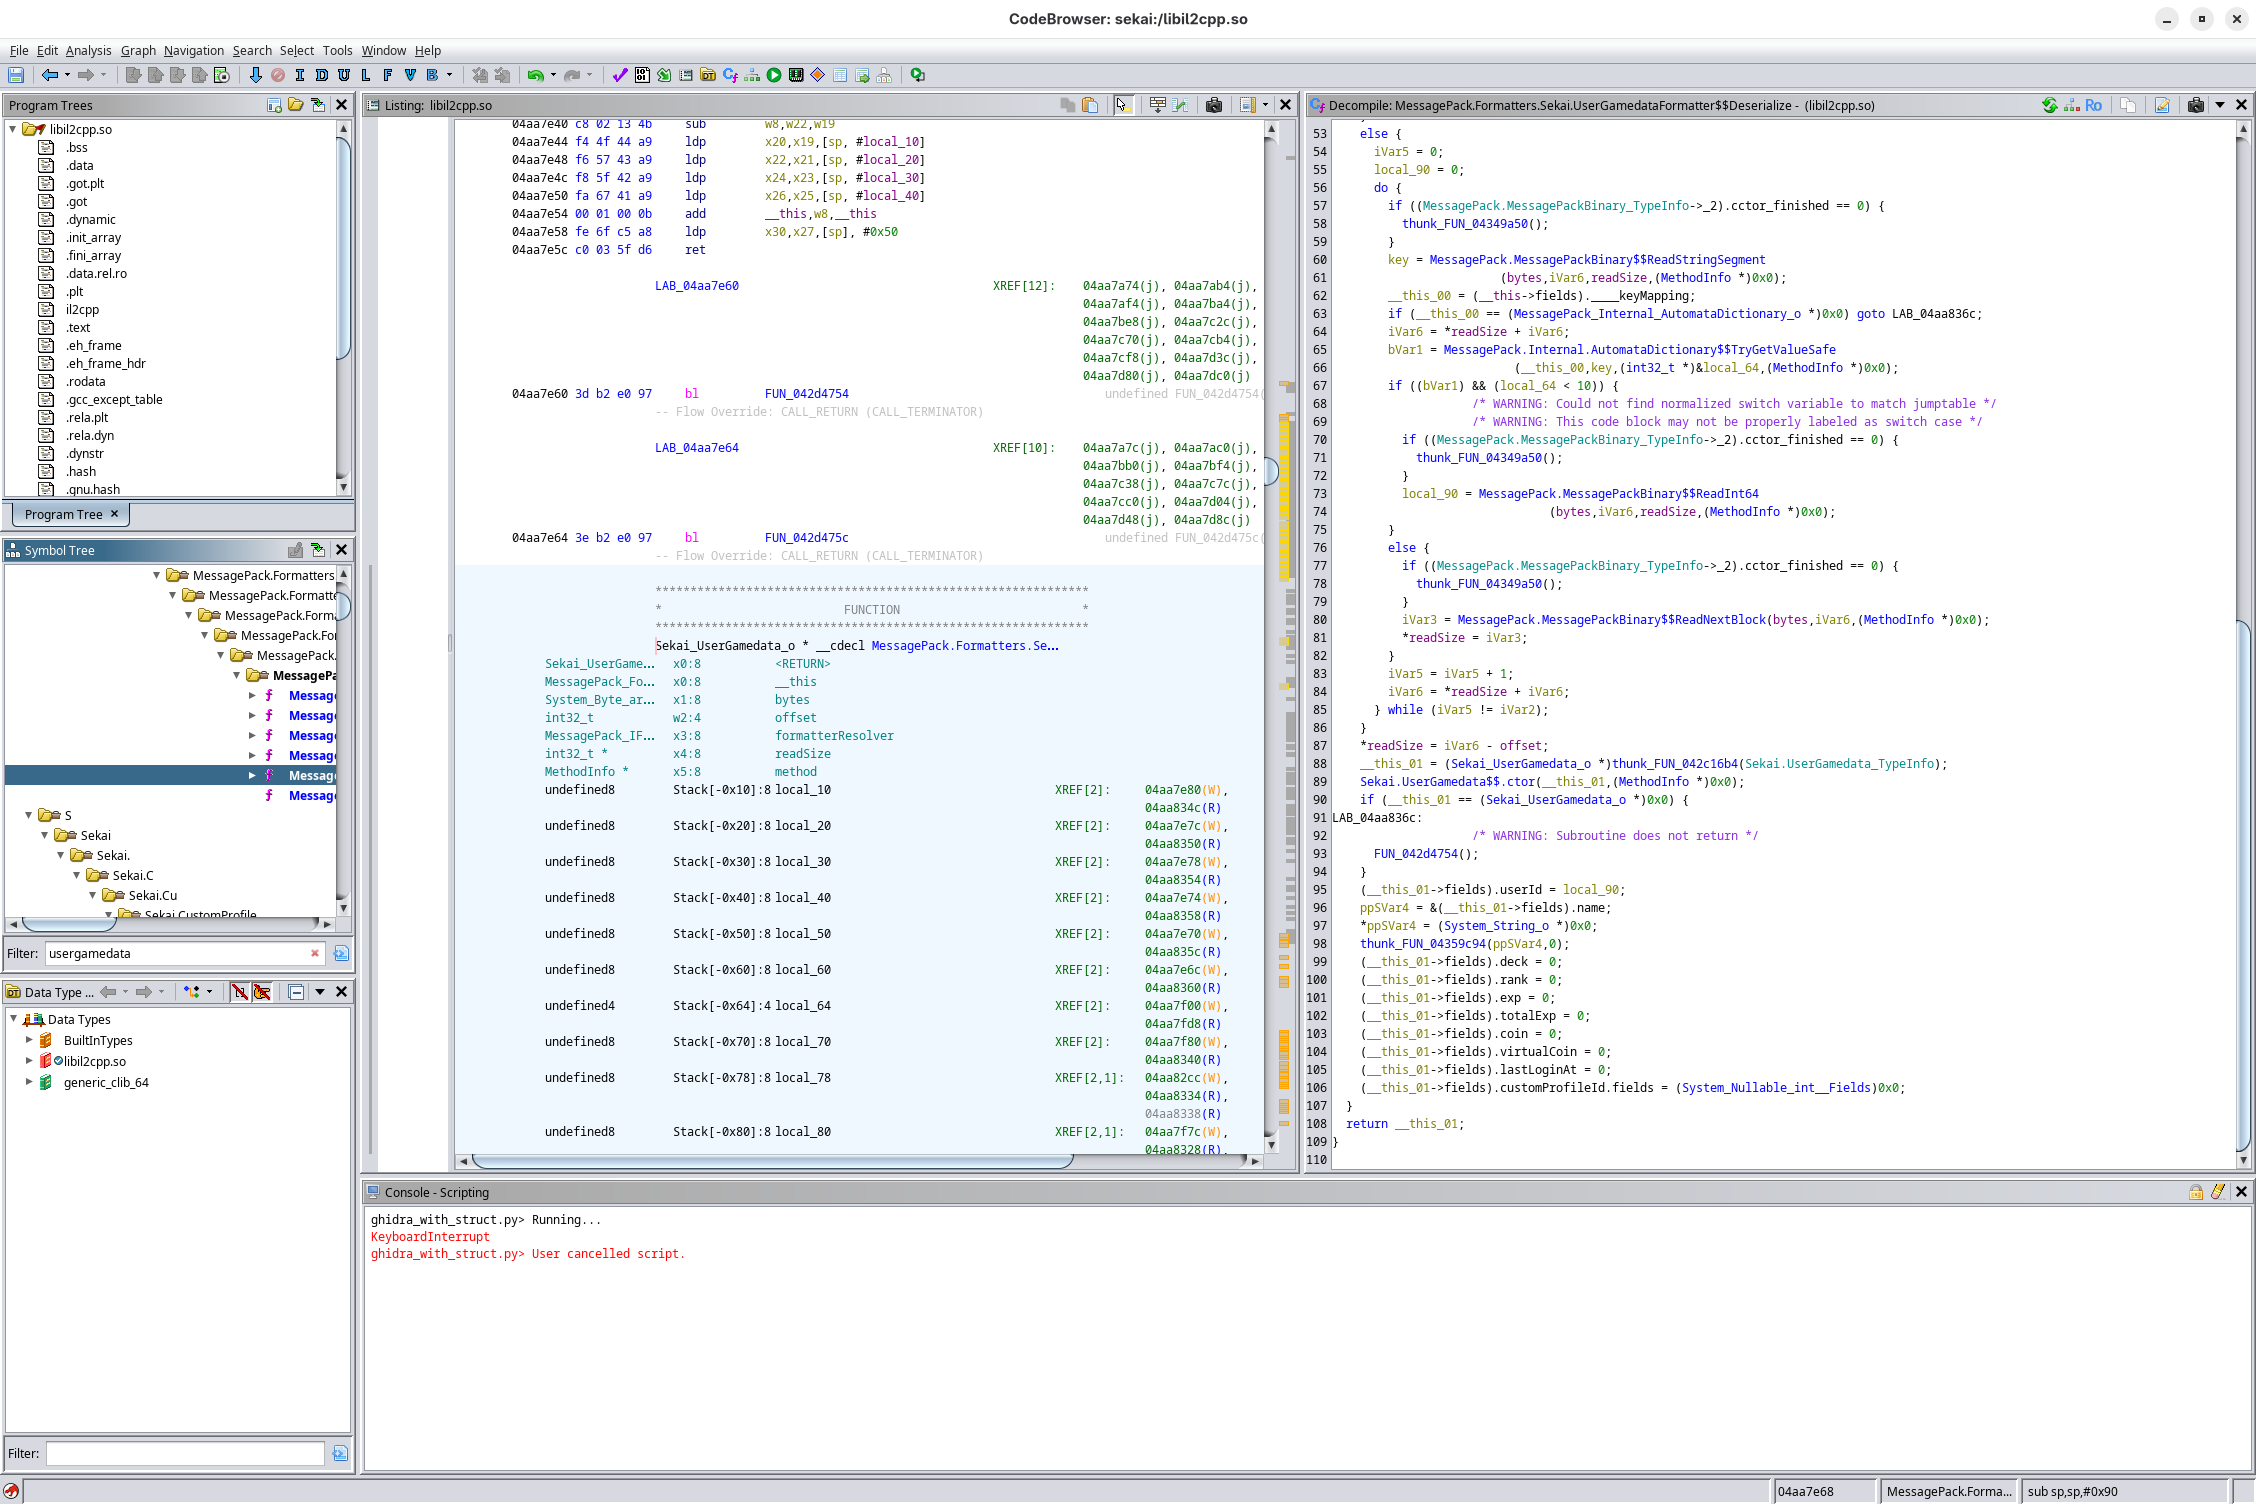
After another bit of Ghidra decompiling the functions (like 12 hours of decompiling), you should get something like the above, and you’re now free to snoop around for things!
Conclusions
So, what did we end up with? A decompiled libil2cpp.so for the inner workings of the game, as well as a stubbed Assembly-CSharp.dll for an easy view into the various structs used. This is a great starting point to dive deeper into the game’s code.
Once again, this is less so a formal tutorial, more so my own notes to approach Unity decompilation, and I managed to learn a whole lot from this! I might come around and snoop further into things, but for now, this is a wrap for our journey. See you next time… maybe.